Monday, July 20, 2015

custom drafted coral lace skirt

Fitting patterns is hard.

So when BurdaStyle Academy advertised a 6-week online course on how to draft your own personal sloper collection, I decided that that might be a good investment of my time and money. It's a 6-week course, with access to the videos and material forever. From their website:  "Through this 6 week long course Meg will guide you through the entire detailed process of developing a sloper library consisting of a bodice and sleeve, skirt, pants, dress, and knit sloper."

The first project is a skirt. As I've mentioned in my last few posts, I've been searching for a really nice fitting slim skirt pattern... so why one make one myself from my own measurements! I've been seeing these coral lace skirts in stores that I really liked, and found some pretty coral lace and matching mid-weight poly for lining... but first to draft the pattern!

J. Crew Dresses & Skirts - new J.Crew Collection Lace Pencil Skirt size 0
source: https://poshmark.com/listing/new-JCrew-Collection-Lace-Pencil-Skirt-size-0-548a6afa4107cc77b50cb576


Meg Healy takes you step by step through videos and handout on how to measure along many lines on your body (and how to do it without a friend, too!), then draft your skirt pattern. Here is my finished drafted pattern:


I traced it, added seam allowances and made up a quick version in muslin to test the fit:


Overall not bad fit at all!!! For my lace skirt, I decided to lower the waist 1", taper the side seams starting at the hip line to take in a total of 4" at the hemline, and moved the side seams forward an inch at the waistline, as it felt to me like they sat too far back on my body. Here are the new adjustments traced on paper, with seam allowances (and my drafting buddy):

Forgot to lower the waist 1" in this photo. You can see it below.

I  decided to finish the waist with double-fold bias tape, so I removed the seam allowance.


I constructed the skirt by underlining the lace with the poly, basting the layers together by hand before cutting, then machine basting the edges of all the cut out pieces, treating it as one fabric from that point on. On the original draft there were two 3/8" front darts on each side, but with the combined fabric thickness I needed to combine them to one 3/4" dart. I think it looks better with just one front dart anyway. Raw edges were serged (with minor fits from my machine), and the top was finished with matching double fold bias tape, with I finished on the inside by hand. In fact, I was able to find everything to match perfectly EXCEPT the invisible zipper. I'll most likely wear it with a shirt untucked to it won't show too bad.

The indoor lighting totally throws off the color!


I'm very pleased with the invisible zipper insertion! I found the trick to avoiding a bump or pucker where the zipper ends it to hand sew that transition after completing the seam. 


The outside lighting show the color much better! After constructing the basic pieces, I did straighten out the hip line a little more, shaving off about an inch overall at the hip. Next time I will want to add a little more length so it hits just above my knee. I also may not lower the waist so much in my next version.


I needed to straighten out the waistline by trimming off a small wedge of fabric from the front dart to first back dart on each side. It was only about 1/2" at the worst of it, but if you compare the side view below with the side view of the muslin test, you can see a big difference.

Here you can also see where I moved the side seam forward at the waistline. The seam certainly no longer makes a straight line up and down, but maybe it makes the tummy less noticeable. What do you think? The side seam as pictured in the muslin or below? 


So remember how I decided to treat the lace and lining as one fabric? Well, after pre-washing the lace it become much less stiff than it was in the store, and even had a little stretch, so once sewn together the lace began to sag compared to the firm lining fabric. It's very clear along the hem pictured below, and along the side seam above. Guess I should have sewn and hemmed them separately. I wonder if I could shrink the lace layer back up a little with a spin in the dryer? Or carefully tack the layers together throughout the skirt? (With the perfectly matching thread, which let me tell you really blends in, especially when you are trying to unpick it!) Or maybe I could find a way to re-do the hem so the layers can hang separately, at least at the hemline? Suggestions and thoughts welcome! 


But aside from that, look how nice that fit and finish is! So far, this course (and new skirt pattern) is a winner!

Monday, July 6, 2015

scout tee success!

Who would have thought that a woven t-shirt with NO dart shaping would look this good?!?!?!

Sorry for the lame bathroom mirror selfie... you do what you gatta do!

I'm totally diggin' the Grainline Scout Tee. My mom bought the pattern for herself, loved it, and sent a copy to me (yay thanks mom!). It sews up super easy, the hardest part being self bias binding for the neck facing... which came out pretty well is I do say so!


I just sewed up the seams on my regular machine, then finished them on my serger (I prefer this to just doing the seams with the serger...  maybe because I'm not always on good speaking terms with that machine). The bottom was finished with a simple narrow hem, and the sleeves were serged than turned over once to hem... and that's it! 

I love the A-line shape, especially in this drapy rayon, which you may have seen here before. I've already picked out some more fabric for another, and would love to do a version in an ivory cotton/silk, or maybe extend to an a-line t-dress.... so very much a fan of this pattern!

Wednesday, June 10, 2015

sewing pjs for me!

I made something for me! TWO somethings in fact! I've discovered I only have one pair of sleeping shorts for summer, so I made myself a couple of pairs fairly quickly. Each took about an hour and a half.


I used McCalls 6848, a super simple pattern with only two pieces. I didn't even look at the directions because they are pretty straight forward. I made the purple pair first from some fabric in my stash. They look bigger because I decided to tighten the elastic on the second pair. I made them first without any alterations... I mean, they are sleeping shorts! What fitting should they need? Turns out, there was way too much extra fabric in the front rise/crotch. How is in that this is always an issue when I make something from a commercial pattern, yet never in ready-to-wear? Am I the only one noticing this huge difference in fit between what pattern companies are designing vs. clothing manufactures? 


For both pairs, I serged all the raw edges and seams, allowing me to just fold over once for the help and waistband.

For this pair, I remedied some of this by scooping out the front crotch to remove a little extra fabric. After a little research, I decided to take a wedge out of the front pattern piece before cutting into my next pair. I slashed the pattern piece along the hip-line, overlapped at the center front seam to remove a lot of fabric, and redrew the crotch curve with addition scoop.


Here you can see the overlapping and the new crotch curve (dashed lines)
Over all better, but I think next time around I will also do the exact opposite (slash and open along the back center) to give a little more room in the rear. What shape does McCalls think I am anyway? And does anyone know the correct term for these alterations so I can research it more? 

Next up, some more simple basics. I don't have the time (or more importantly, focus) that I used to for more complicated sewing projects in between my Filbert & Maggie sewing, so next I may try the Scout Tee, and still looking for that perfect pencil skirt pattern. Until later!


Wednesday, May 13, 2015

i made a skirt!


Hello all! I've finally made something for me! And it was a success! I needed a sewing "win" to boost my confidence and get me excited to do some selfish sewing this summer, now that I'm off from work for a few month (as I'm working at the University of Southern Maine). I saw this recent Simplicity pattern and thought it would be perfectly comfy and chic, especially for an upcoming overseas trip:
AND it was on sale for 99 cents at Joann Fabrics. AND they had a super pretty wildflower-print knit on sale for 50% off. AND I had money left on a gift card from my birthday. So that equals:


It's obviously much longer on me than the envelope model, but for this version I don't mind. It wears more like a subtle hi-low maxi-skirt, and you know I love a maxi-skirt! The knit was all kinds of wobbly when cutting and sewing, but also held a nice press when doing the curved hem line. So win some, lose some. It feels lovely to wear, and the 1.5" waistband is very comfortable... and it only took a few hours to complete! I will totally make this pattern again! Plus, I have enough fabric left over to maybe try to make some underthings... Overall, feeling very positive about sewing and making some more time to sew for me again this summer!

Sunday, March 22, 2015

a basic to get back in the swing of things

Has it really been since DECEMBER since I posted?!?! Oh well, I'm working on finding more time for me-sewing, not just Filbert & Maggie sewing.  Here is a Renfew I sewed up recently, nothing too exciting but it's something! It's a fairly light-weight sweater-knit, so I made it to be a casual basic in my wardrobe.


The sleeves are SOOOOO long, but can be scrunched up, and I totally puckered up the un-even hemline trying to shorten it after the fact, BUT LOOK AT THAT PERFECT NECKBINDING! I may have to re-do the bottom hem somehow, since the rest of the top came out so nice, even with the super stretchy, wiggly fabric.

I also attempted a plaid pencil skirt from a BurdaStyle US Magazine, but the fit was all funky. Any suggestions on a great, go-to pencil skirt pattern for a girl with a little bit of tummy?  Next up I think is another pair of Elle Pants in black....  not terribly exciting to read about but great basics for me! I'll try to think of something fabulous to make and post soon, maybe some of those Ginger Jeans that everyone is making right now, because who doesn't need a perfect-fitting pair of jeans?


Wednesday, December 31, 2014

2014 review

Where to even being? Oh yes, there is the "where have you been?" "why I've haven't blogged this month..." blah blah blah!  But lets just dive into the accomplishments of the year! Here are all the clothing items I made in 2014 in order (and click on the thumbnail if you want to learn more about each item!):


Not too bad for a year that also started my new line of hand-printed and sewn housewares, www.filbertandmaggie.com,, where I started back to school and working again at the university, and a summer mostly filled with personal loss. Some of my favorite makes this year are my not-a-Christmas-party dress, my ikat Taylor shorts, and the Marie jacket, which my sister wears all the time. While I intentionally made the feather-print, jersey maxi-dress for her (and another really lovely, teal, modal jersey version for my sister-in-law), the Marie jacket was supposed to be for me. She also ended up with my black-and-white graphic-print Elle top, and the black polar-fleece jacket fit my mother-in-law perfectly. Damn tall people.... 

I can't look back at 2014 without looking at the launch of my new line hand-designed, hand-printed, and hand-sewn table linens and other items for the home. I'm really proud of myself, and looking forward to what 2015 will bring for Filbert & Maggie Handmade.


Posted one year ago, here were my 5 goals for 2014:

#1 - Pants - Success!

While the khakis haven't quite made it into regular wardrobe rotation, my black, Elle pants were a big success and worn often when I was filling-in for a a few months as an Activities Director as an assisted living facility. 


#2 - Swimsuit -
Fail

I had a good start on it before my personal life put sewing to the back-seat this summer. 


#3 - Underwear - Made.... but not really worn.

I have on a couple of occasions worn my high-waist Ohhh Lulu undies, but I could definitely improve in the home-made underwear department. I think if I could nail down a  everyday-wear pattern, making undies could be a great, simple project for me in-between all my other commitments right now!  

#4 - Coat/Jacket - two lightweight jackets made, but I kept neither. They both came out really great, if only they fit me better. They are getting a lot of use from my sister and mother-in-law.

#5 - Teaching...

Yeah, not so much. I have been helping many of my studio-mates at Running with Scissors with screenprinting, but not yet teaching for pay. 

As for goals for 2015... I'm going to keep it simple this year: see where Filbert and Maggie takes me, and find the time and inspiration to sew garments for me again. And on that note, have a very happy New Year and see you in 2015!

Friday, October 24, 2014

what's rachel been sewing lately?

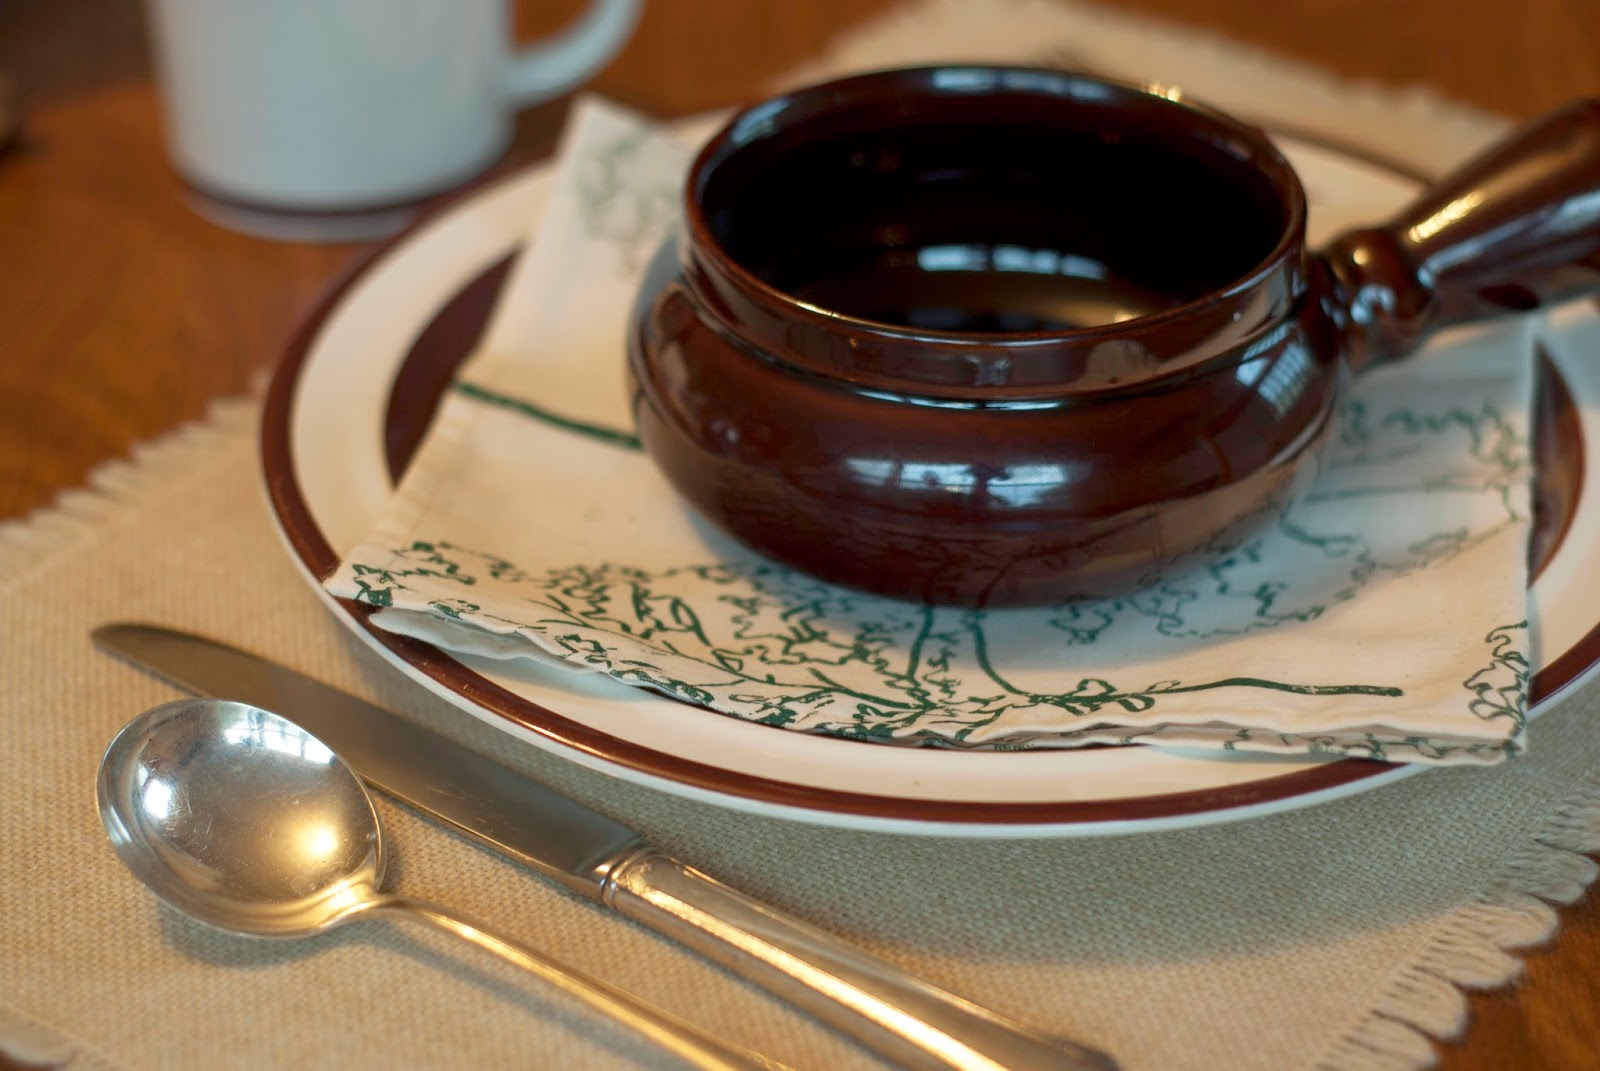
Hello sewing blog friends! I know it's been a while, but now I can show you what I've been up to and why you haven't seen me on sew rachel! Today I launched my online shop of hand-printed, hand-sewn table linens: www.filbertandmaggie.com! The shop opens today with 7 designs of cotton cloth napkins (there were 8 designs, but one already sold out!). New items will be added in the next few weeks, including tote-bags, zipper pouches, place mats, and a new fabric design currently in the works! I want to thank Katie Wilber for the product photography and I look forward doing more work with her in the future. I hope you can check it out, and know I will be back to regularly-programmed sewing soon!