Showing posts with label floral. Show all posts

Saturday, April 5, 2014

what's rachel sewing today? a sewaholic cambie dress!

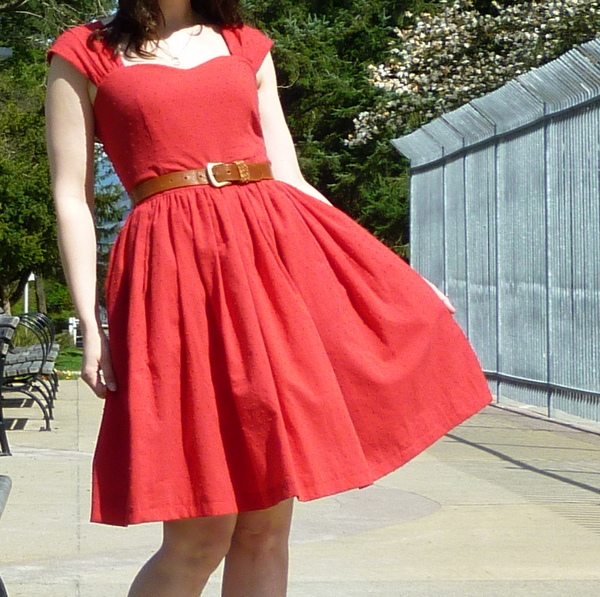
I'm finally feeling like sewing for spring! We've had, like, 4 above-freezeing days in a row! Some even with sunshine!!  So what's my first frock of spring (a term shamelessly stolen from Scruffy Badger)?  I've seen so many great Sewaholic Cambie Dresses around the web, and and for a long time now I've just have a hunch that it would be a great fitting pattern for me... so I've finally mustered up the courage to give it a try!


Oooo, floral cotton! I bought this fabric specifically with this dress in mind after seeing one of Tasia's versions here and her McCalls 7743 here.  The bodice came together very easily, and with very few adjustments. What a great patterns! I took it up at the shoulder seam by 5/8", and then shortened the bodice 1/2" before attaching the waistband. The cap sleeve is attached to the back bodice, then sewn into the front bodice once everything in constructed and fitting. I often have to short the shoulders once I have a dress fitted, so this is perfect for me! I can wait until the very last step with the zipper installed and all to fit my sleeves!

The pattern is completely lined. In the instructions it calls for you sew the entire dress and lining seperatly, then after the zipper is installed attached them at the top, right sides together then turning inside out for a clean finished. I've altered that construction just slightly so that the waistband and  lining would be stitched together for a little more stability.  I hope it doesn't mess me up down the line.

You can see how I have sewn all layers of bodice, lining and waistbands into the waistband.

But I didn't sew them together all the way to the back seam to allow me in install the invisible zipper later, after the skirt is attached. Then I will hand sew any remaining lining closed to cover all the yucky seams.
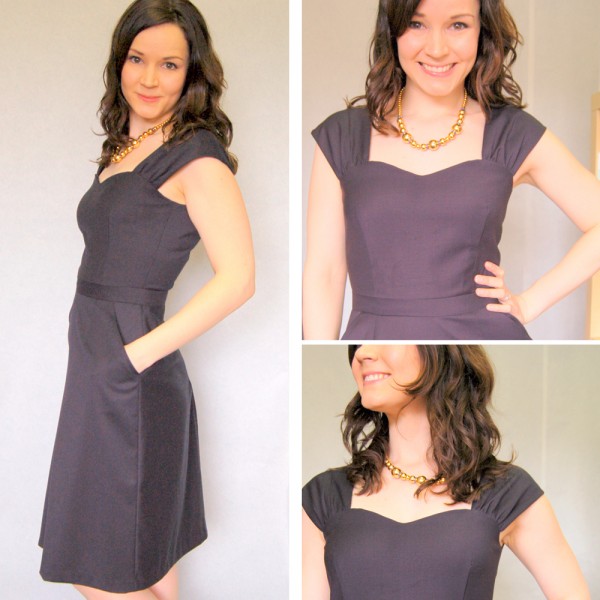
Now I need to decided on the skirt. The pattern includes a full gathered skirt (which doesn't always look flattering over my abdomen, but looks so cute with this bodice on Tasia!) and a narrow, classic A-line (more practical for day-to day maybe? But will that style look good on my figure?). Another option would be to draft a circle skirt, which I know looks great on me, but would be a lot more work, and I hate hemming a circle skirt!


Hmmmmm, what will look best... and what will work best in my wardrobe?


Sunday, June 9, 2013

keeping my promise: another summer maxi-skirt

In my last post I promised to be better about blogging my makes, after wearing 3 un-bloggged skirts during Me-Made-May. I'm keeping good on my promise, so here is one of those skirts:


I had picked up the light weight cottony fabric on a trip to Sewfisticated Discount Fabric in Dorchester, Massachusetts. I just LOVE the big bold floral print in this almost retro color palette of teal, olive and goldenrod. At first I was thinking about making Butterick 5886. It's a fabulous dress, and I was this close to cutting the pieces out, but because this print is just so cool I decided instead to make something I would wear more often. And a light breezy maxi skirt with a simple tank or t-shirt has become my summer uniform! (Although, I still plan on making this dress before the end of the summer.)

It's a simple elastic waist skirt with french seaming. At first I made it full, with something like 120 inches gathered at the waist. It looked really bad. So I hacked it below the knee, took the top half in to about 60 inches, then reconnected the full bottom half as a gathered tier or ruffle. Perfect! Well, except... do you know how when you are sewing french seams your brain thinks you are sewing the pieces backwards even when you are doing it right? This time my brain was right. I had stitched the bottom tier on inside out so the seams were on the outside. This fabric is so light, and I didn't have much wiggle room in length, so I was afraid that I would damage too much of it if I took out the seam and sewed it up again. Instead, I pressed the french seams down and added another line of stitching right along the edge of the seam, so it kind of looks like a cover stitch. Pretty clever! You would never have noticed it unless I pointed it out, would you?


Speaking of clever, I will let you know that I re-made and attached the bias strip binding to the Eucalypt Tank and this time it was perfect. I'm so pleased with myself that I'm adding bias binding to my current project as well! But that, my friends, is another post...